Monday, January 18, 2016
Kid Art Classes
I've started teaching a weekly art class for children in 1st-5th grade at Hobby Lobby in Waxahachie. (For more info visit the "Art Class" section at www.3bearsstudio.com.) Tonight was our second class and I am just having the best time teaching. I have been teaching private lessons for the past 3 years and I have loved that, but there is just something really fun about being in a classroom setting again teaching my favorite subject. Here are some pictures of all the fun we have been having.
Saturday, May 2, 2015
Dollhouse Makeover!
I decided to re-do my old childhood dollhouse for my little girl. It was SO FUN. I think it was probably more fun for me to re-do it than it is for her to play with it. I started with this. It definitely needed some work.
This is the completed house! I painted it bright blue. It took two cans of spray paint. I decided not to paint the floor in each room so that it looked like it had wood floors. I did, however, put a coat of Mod Podge on each floor to protect it from any further damage. The kitchen floor is covered in a plastic flooring I found at Hobby Lobby in the dollhouse section. You can get a better look at it in the following pictures. I adhered it to the wood floor with plain Elmer's glue. I painted the bathroom floor because it had previously been painted so I didn't have much choice. All the the wallpaper is scrapbook paper from Hobby Lobby. I adhered it with two sided tape. Each room required two sheets of 12" x 12" scrapbook paper.
These sweet little peg people resemble my family. I have been meaning to paint our dog on a peg...but I have not gotten around to it. I got these little nude wood pegs at Hobby Lobby and painted them with plain cheap acrylic paint.
Here is the master bedroom. All the wood furniture throughout the entire house was purchased from Amazon. The brand is Hape. It's great quality if your looking for dollhouse furniture! All the rugs you see in the house are dollies from Michael's dollar section.
The family portrait on the back wall is on a 2" x 2" canvas. You can get tiny canvases all over the place these days. I think this one was from Michael's.
Next is the nursery. The "Hello Sunshine" picture on the wall is a miniature card I found at Michael's. I up mounted in with white foam core and covered it with clear glossy packing tape to protect is. I then adhered it to the wall with foam tape.

The kitchen might be my favorite room! The table is original to the house when it belonged to me. The pictures on the left were cut out of a magazine and treated the same way the picture in the nursery was finished. The picture frame above the sink was found at a garage sale and the tiny
city-scape inside was cut from a magazine.
Look how happy I am about cooking in my new kitchen...ha.
Here we have my little one's room. The tiny horse came from a goody bag at a friend's party. The picture on the wall is exactly the same as the picture in the nursery, just a different card. The tiny easel and canvas came from Michael's.
Then we have the bathroom.
Last, we have the living room. The pictures frames on the wall came from the scrap booking section at Hobby Lobby and I cut the pictures inside from an art magazine. The tiny coo coo clock came from the dollhouse section at Hobby Lobby.
Thursday, November 27, 2014
More custom shoes in time for Christmas!!
I just finished these little custom owl shoes. Contact me here if you're interested in a pair for yourself or someone you love!
Monday, November 24, 2014
Custom Christmas!
I just completed this painting for my little one for Christmas! I am glad it's done so I can get to some custom orders and other Christmas gifts that need to be made. If you're wanting a custom painting in time for Christmas, there is still time! Message me here and we can chat about what you want. :)
Sunday, October 5, 2014
Super Duper Easy Girlie Dress Tutorial
If you are thinking, "I'm not sure if I can make that because I'm not that great of a seamstress" then you're in good company. I am a mediocre seamstress at best and don't know how to do anything advanced or fancy. Fortunately, this pattern is so simple to make, anyone can do it! Feel free to comment below if you have questions. :)
First, you will need an adult sized dress. You can find cute ones at the thrift store, garage sales, or you probably have a cute dress in your closet you don't wear anymore. I found this one in a bag marked "garage sale" at my little sister's house. The bigger the dress the better. I once used a plus size 18 skirt to make a 2T dress. You can also use a skirt to make this dress, but this tutorial does not address that design.
[TIP: This dress is a medium and my daughter is a 2T. An adult medium dress was probably as small as I could have gone to make the 2T dress.]
Next, you will need a shirt that would fit your child. I got this one from Target. It was $5 and it is awesome!
[TIP: I recommend washing the shirt before you start this project.]
Now decide how long you want your shirt to be. The way I decided this was by looking at it and cutting it. It's was a very scientific approach :) Basically, I wanted the shirt to be short enough so the dress would have a high empire waist. Make sure to add at least half an inch to sew your skirt portion of the dress on to the shirt. I used a rotary cutter but you can also use scissors.
[TIP: If you're not sure where to cut the shirt, measure a dress that fits your child and determine length from that example.]
To determine how much of the dress you will need, measure one of your child's dresses, and then subtract the length of the shirt you just cut. For example, I wanted my dress to be 22" all together. My top was 7" (plus 1/2" for the seam) so I cut 15.5" of the dress (that included the half inch for the seam.
Then find the center of the front and back of your shirt and mark them.
Find the center of the bottom portion of your dress as well and mark them. My finger is pointing to that green marker line. It's not very easy to see. You might want to use something more visible
Gather the skirt portion of your dress. Hopefully your machine does this for you, but if not, that's ok!
Your gathered skirt portion should look like this.
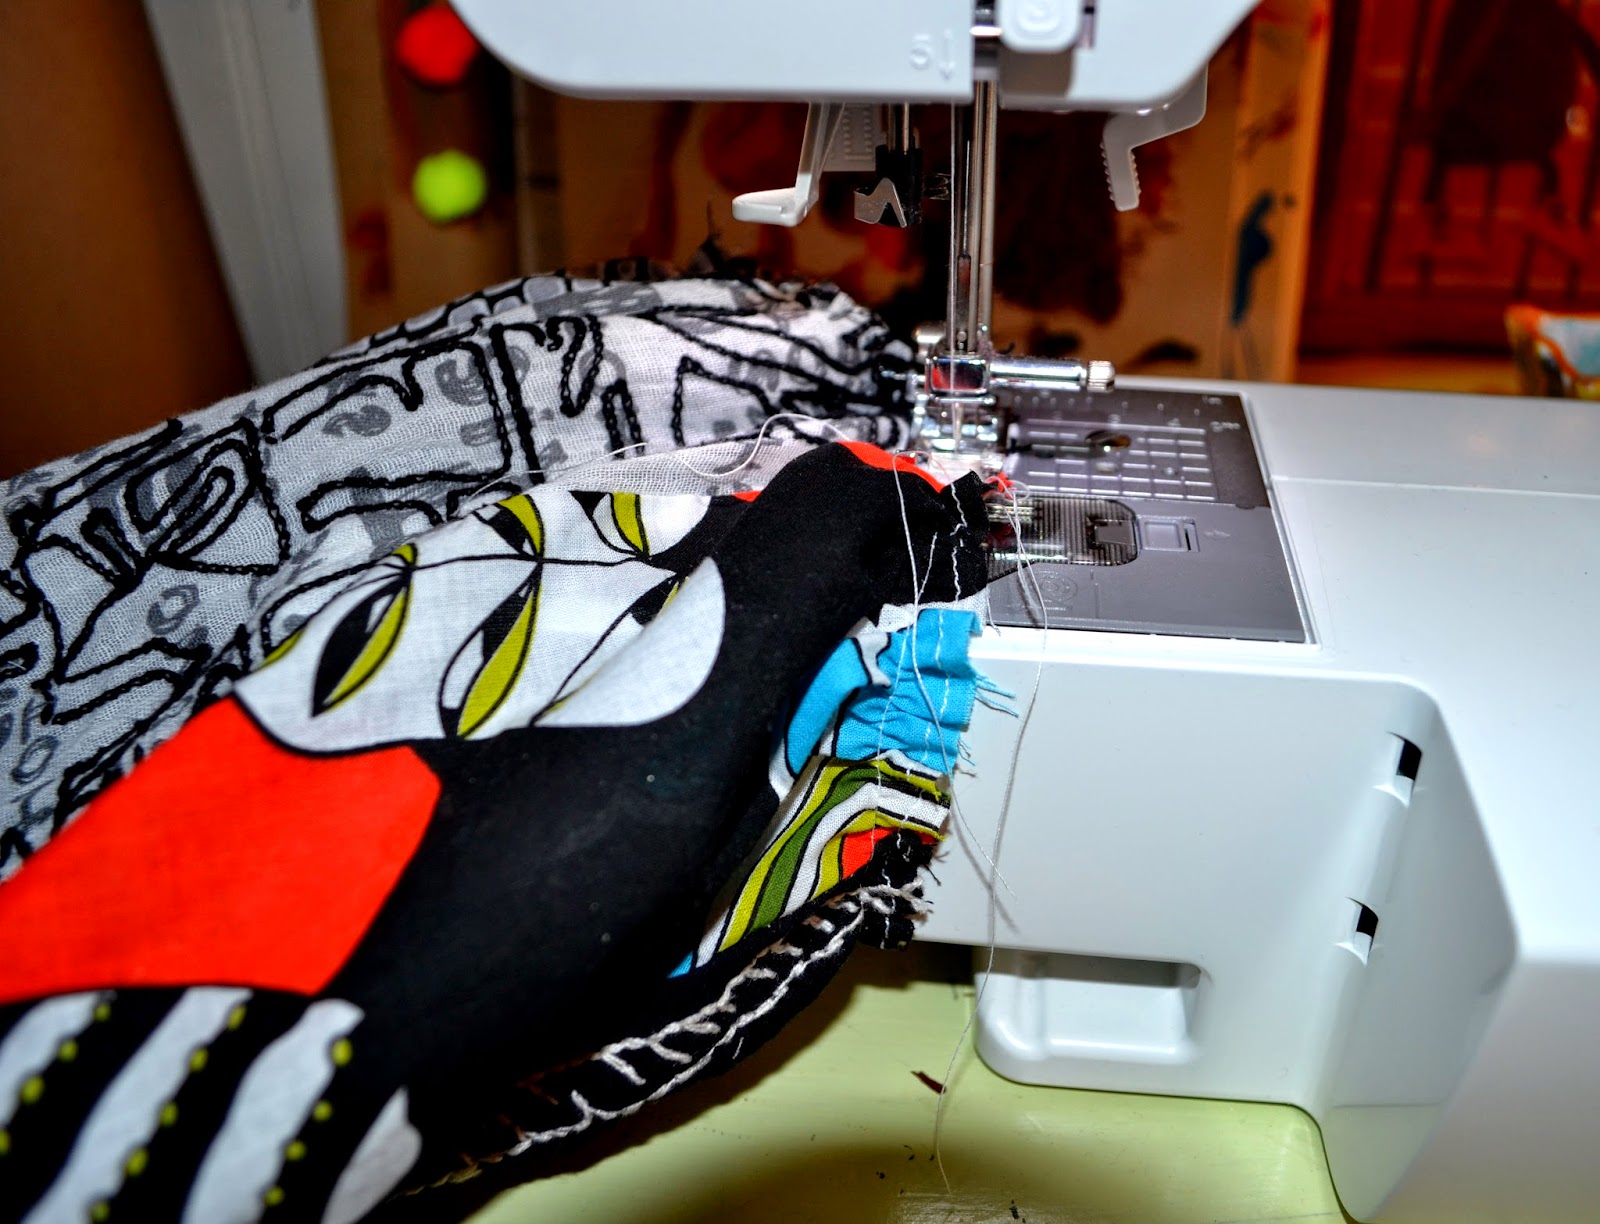
Remember a few steps ago when you found the middle front and middle back of your skirt and shirt? Match up the middle front of the skirt to the middle front of the shirt. Do the same for the middle backs. Also, your skirt front and shirt front need to be together or facing each other. Now sew the two together creating a 1/2" seam.
[TIP: I like to use a lot of pins to pin the shirt to the skirt. It keeps everything in place and keeps me from making mistakes.]
Now for the exciting part! Turn it right side out, iron it well, and TA-DA!! You have a super awesome dress for your child that didn't cost very much at all!! The dress in the picture cost me five bucks!! PLEASE if you make one of these dresses, send me a pic. I would LOVE to see what fun materials you find to make your dresses.
Friday, September 26, 2014
It's been a while...
I have not updated this blog in at least a month. OOPS! I love Instagram and sometimes neglect my blog. Sorry blog followers. Feel free to find @3bearsstudio on Instagram for more regular updates. I have got lots of new stuff on Etsy right now since show season is in full swing. Go check it out!
Sunday, August 24, 2014
Subscribe to:
Posts (Atom)


.JPG)
.JPG)
.JPG)


.JPG)