


If you are thinking, "I'm not sure if I can make that because I'm not that great of a seamstress" then you're in good company. I am a mediocre seamstress at best and don't know how to do anything advanced or fancy. Fortunately, this pattern is so simple to make, anyone can do it! Feel free to comment below if you have questions. :)

First, you will need an adult sized dress. You can find cute ones at the thrift store, garage sales, or you probably have a cute dress in your closet you don't wear anymore. I found this one in a bag marked "garage sale" at my little sister's house. The bigger the dress the better. I once used a plus size 18 skirt to make a 2T dress. You can also use a skirt to make this dress, but this tutorial does not address that design.
[TIP: This dress is a medium and my daughter is a 2T. An adult medium dress was probably as small as I could have gone to make the 2T dress.]

Next, you will need a shirt that would fit your child. I got this one from Target. It was $5 and it is awesome!
[TIP: I recommend washing the shirt before you start this project.]

Now decide how long you want your shirt to be. The way I decided this was by looking at it and cutting it. It's was a very scientific approach :) Basically, I wanted the shirt to be short enough so the dress would have a high empire waist. Make sure to add at least half an inch to sew your skirt portion of the dress on to the shirt. I used a rotary cutter but you can also use scissors.
[TIP: If you're not sure where to cut the shirt, measure a dress that fits your child and determine length from that example.]

To determine how much of the dress you will need, measure one of your child's dresses, and then subtract the length of the shirt you just cut. For example, I wanted my dress to be 22" all together. My top was 7" (plus 1/2" for the seam) so I cut 15.5" of the dress (that included the half inch for the seam.

Then find the center of the front and back of your shirt and mark them.

Find the center of the bottom portion of your dress as well and mark them. My finger is pointing to that green marker line. It's not very easy to see. You might want to use something more visible
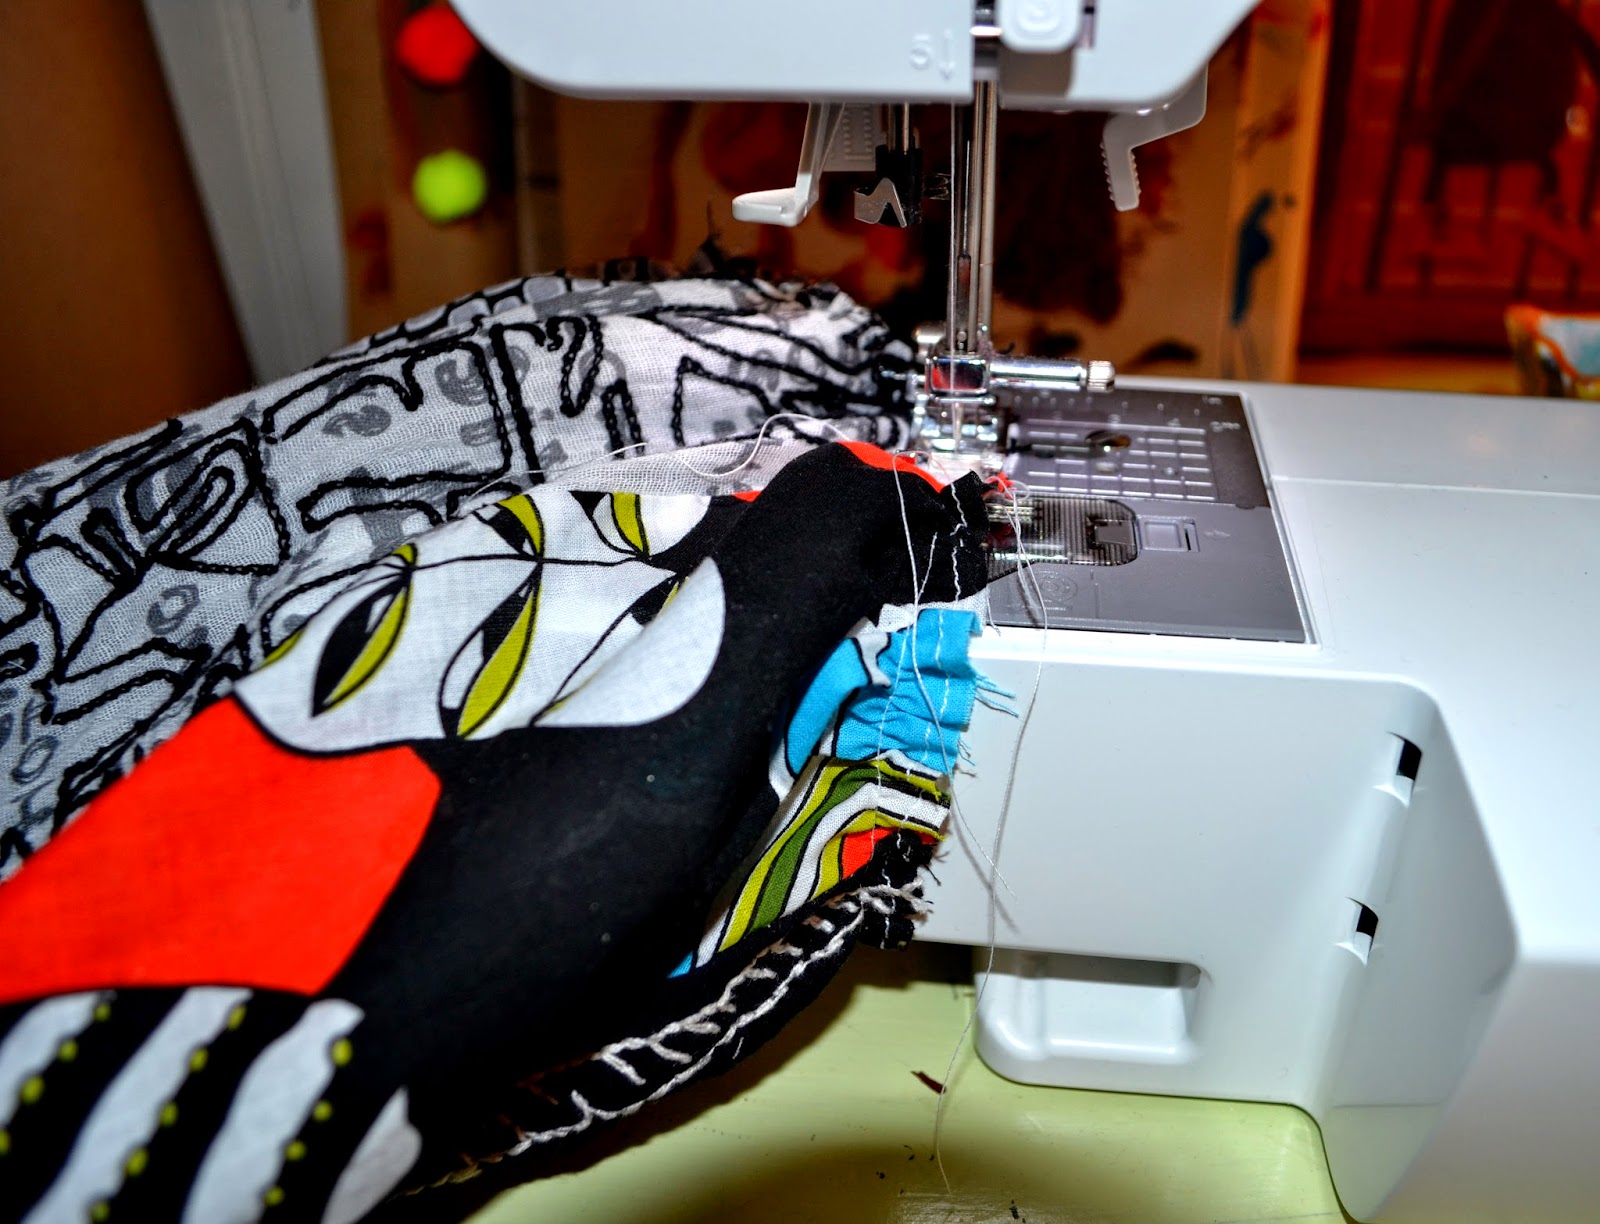
Gather the skirt portion of your dress. Hopefully your machine does this for you, but if not, that's ok!

Your gathered skirt portion should look like this.

Remember a few steps ago when you found the middle front and middle back of your skirt and shirt? Match up the middle front of the skirt to the middle front of the shirt. Do the same for the middle backs. Also, your skirt front and shirt front need to be together or facing each other. Now sew the two together creating a 1/2" seam.
[TIP: I like to use a lot of pins to pin the shirt to the skirt. It keeps everything in place and keeps me from making mistakes.]

Now for the exciting part! Turn it right side out, iron it well, and TA-DA!! You have a super awesome dress for your child that didn't cost very much at all!! The dress in the picture cost me five bucks!! PLEASE if you make one of these dresses, send me a pic. I would LOVE to see what fun materials you find to make your dresses.
No comments:
Post a Comment